
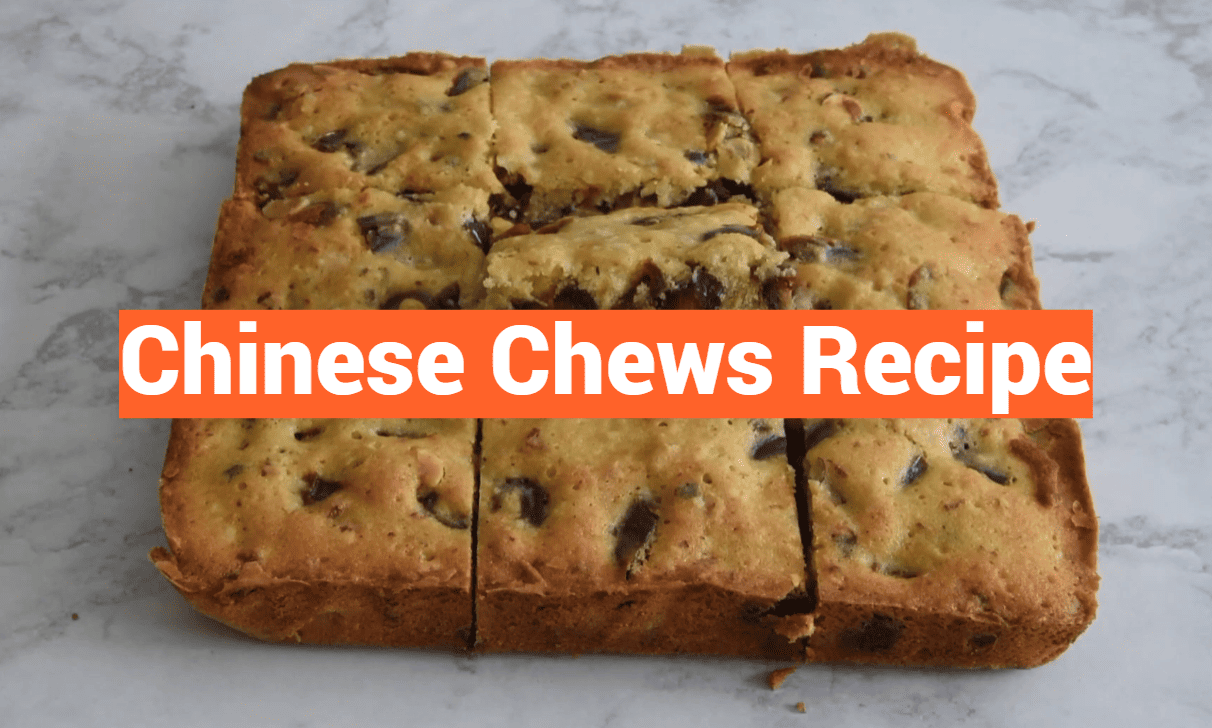
Did you know that a beloved dessert first graced the pages of Good Housekeeping in June 1917? This classic treat has been a cherished part of American baking for over a century.
Families have been enjoying this vintage delight during the holidays, often passing it down as a treasured heirloom. While the name might hint at an exotic origin, it is actually a simple bar cookie that has stood the test of time.
Making these bars is more than just baking; it’s a way to connect with our past. Many grandmothers have lovingly prepared this dish since the early 20th century. Whether you are just starting out or have years of experience, this straightforward method allows anyone to create a nostalgic dessert that everyone will love.
Key Takeaways
- This classic treat has been enjoyed for over 100 years.
- It is often passed down through generations.
- Despite its name, it is a traditional bar cookie.
- Making it connects us to our baking heritage.
- Suitable for bakers of all skill levels.
Introduction & Heritage of Chinese Chews
In 1917, a delightful dessert made its debut in a popular magazine. This treat, submitted by Mrs. L. G. Platt of North Bend, Oregon, quickly gained attention. It has become a beloved classic over the years.
Many home bakers have dedicated years to perfecting this traditional bar cookie. It features a crispy top with a chewy center filled with sweet dates. The unique name, however, remains a mystery even after more than a century.
Historians suggest that the term may have been chosen to evoke a sense of sophistication. The inclusion of exotic ingredients like dates and walnuts likely appealed to early 20th-century readers. Despite its unusual name, this dessert continues to be a favorite in community cookbooks across the United States.
Primary Ingredients & Their Roles
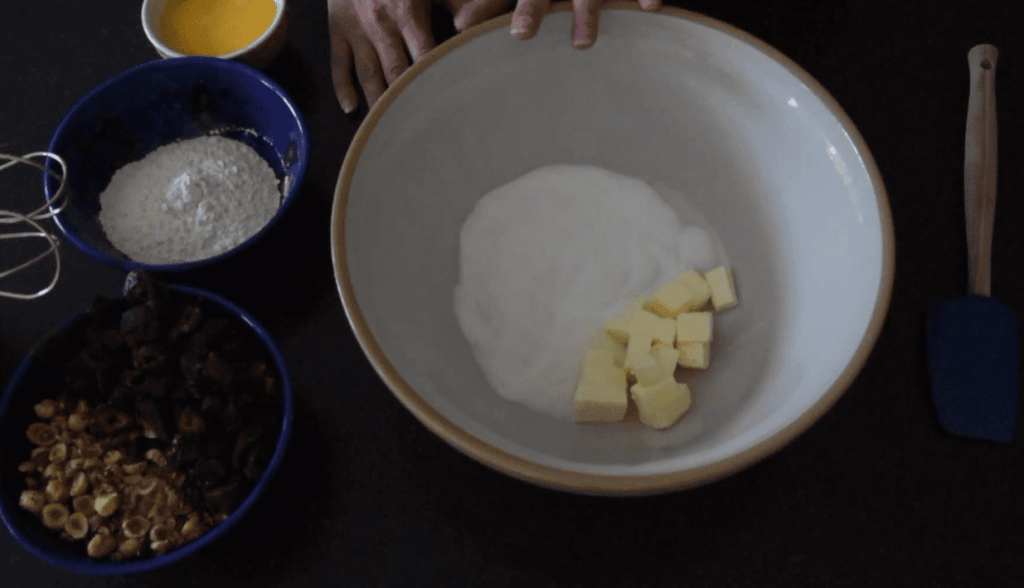
The foundation of this dessert lies in its carefully selected ingredients. Each component contributes to the delightful texture and flavor profile that make this treat so special.
Essential Dry Ingredients
The essential dry ingredients for this recipe include:
- All-purpose flour: 3/4 cup provides structure.
- Sugar: 1 cup adds sweetness.
- Baking powder: 1 teaspoon offers a slight lift.
- Salt: A pinch balances the sweetness.
Key Wet Ingredients and Their Impact
For the wet ingredients, you will need:
- Eggs: Using 2 large eggs acts as the binding agent.
- Chopped dates: 1 cup gives the signature chewy texture.
- Nuts: High-quality nuts add crunch and flavor.
| Ingredient | Amount | Role |
|---|---|---|
| All-purpose flour | 3/4 cup | Structure |
| Sugar | 1 cup | Sweetness |
| Baking powder | 1 teaspoon | Lift |
| Salt | Pinch | Flavor balance |
| Eggs | 2 large | Binding agent |
| Chopped dates | 1 cup | Chewy texture |
| Nuts | As needed | Crunch |
Preparation and Baking Process
The art of baking these bars combines tradition with a few simple techniques. First, preheat your oven to 325°F. This temperature ensures even baking without drying out the center.
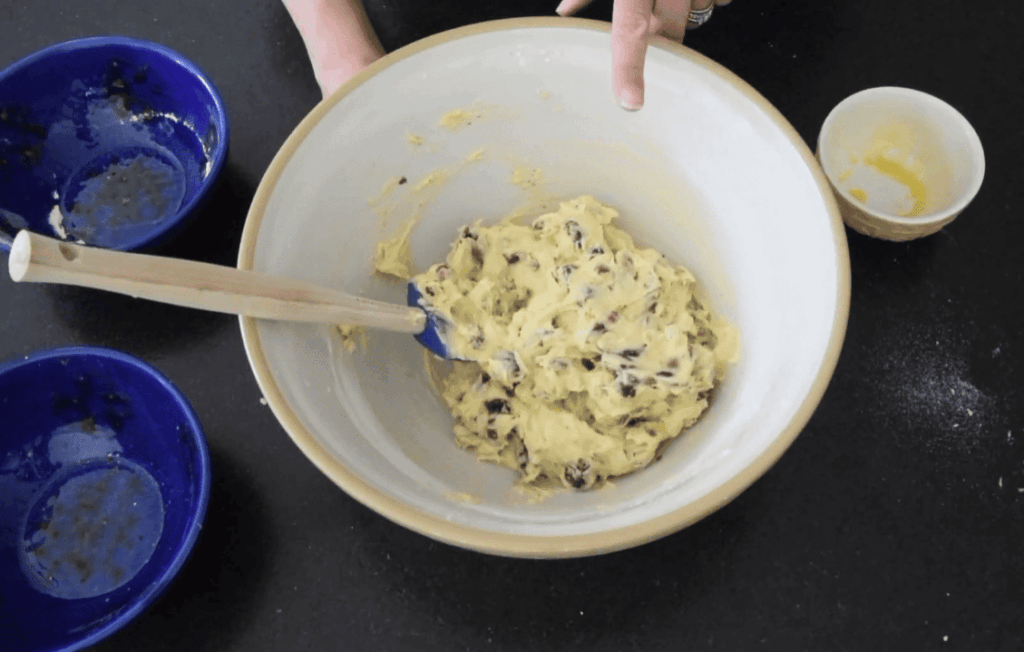
Using an 8×8 pan is essential for achieving the perfect thickness of these dense bars. Mixing the stiff batter requires a sturdy bowl and some physical effort, as the dough is quite dense due to the high ratio of dates.
Before you pour in the mixture, prepare your baking pan by buttering it thoroughly or using a non-stick foil liner. This step is crucial for ensuring the bars release cleanly after cooling.
The baking process typically takes about 30 minutes. However, keep a close eye on the oven to prevent the edges from becoming too dark. Once the mixture is spread into the pan, use a spatula to press it firmly into the corners for an even thickness.
Finally, check for doneness by inserting a knife into the center. It should come out clean when finished. Remember, “Baking is both an art and a science,” so enjoy the process!
Step-by-Step Instructions for chinese chews recipe
Creating these delightful bars involves a straightforward yet rewarding process. Start by setting your preheat oven temperature to 325°F. Prepare an 8×8 pan by greasing it with butter or lining it with parchment paper for easy removal.
Preheating, Mixing, and Spreading
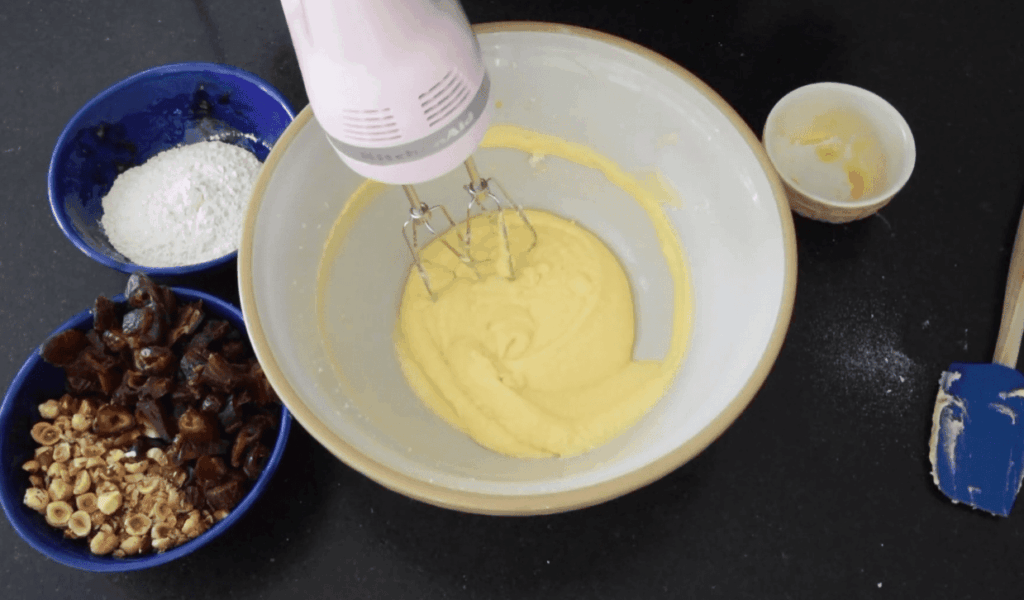
In a large mixing bowl, combine 3/4 cup flour, 1 cup sugar, 1 teaspoon baking powder, and a pinch of salt. Then, add 1 cup chopped dates and your preferred nuts. Finally, incorporate 2 large eggs into the dry mixture and stir until the batter is well combined. Note that the mixture will be quite stiff.
Baking, Cooling, and Icing
Spread the mixture evenly into the prepared pan, ensuring it reaches the edges. Bake for 30 to 35 minutes until a knife inserted into the center comes clean. After baking, allow the bars to cool for about 10 minutes. For a finishing touch, cut them into squares and dust with powdered sugar or icing sugar for a professional look.
Tips, Variations & Expert Techniques
Experimenting with flavors and textures opens up a world of possibilities. By incorporating small changes, you can enhance the overall experience of these delightful bars.
Customizations and Ingredient Swaps
For those who prefer different textures, swapping walnuts for pecans is a common variation. Pecans add a richer, buttery flavor to the bars. Toasting these nuts in the microwave for a few minutes can significantly enhance their flavor profile.
Additionally, adding a teaspoon of vanilla extract to the batter provides a deeper, more aromatic flavor to the finished dessert. You can also customize the mixture by including a small amount of crystallized ginger for a spicy twist.
Presentation and Serving Suggestions
If you want to elevate the presentation, consider drizzling a simple icing made from butter and powdered sugar over the cooled bars. This not only adds visual appeal but also a sweet finish.
Always ensure your pan is lined with non-stick foil. This makes it easier to lift the entire batch out for perfect, clean-cut squares. Serving these bars at room temperature allows the flavors of the dates and nuts to shine through effectively.
Additional Advice on Storage and Leftovers
To keep these treats fresh and enjoyable, consider the best storage methods. Proper storage can significantly extend the shelf life of your bars while maintaining their delightful texture.
Proper Storage Methods
Store the bars in an airtight container at room temperature. This method helps preserve their chewy texture for up to one week. If you have leftover icing, store it separately in a small container. This prevents the bars from becoming soggy before serving.
Freezing and Shelf Life Considerations
You can freeze these bars for up to two months in a freezer-safe container. Layer the bars between sheets of parchment paper to prevent sticking. When ready to enjoy, thaw them overnight in the refrigerator. For the best results, always thaw frozen bars at room temperature before adding a fresh dusting of powdered sugar or confectioner sugar.
| Storage Method | Duration | Notes |
|---|---|---|
| Airtight container at room temperature | Up to 1 week | Maintains chewy texture |
| Freezer-safe container | Up to 2 months | Layer with parchment paper |
| Thawing | Overnight in refrigerator | Best at room temperature |
Conclusion
This timeless dessert has charmed bakers for generations. By following this recipe, you can recreate the crispy-topped, chewy-centered bars that have delighted families for over a century. Whether you prefer pecans, walnuts, or extra dates, this dish is versatile enough to suit every baker’s taste.
We hope this guide has given you the confidence to master this traditional treat and share it with your loved ones. Thank you for exploring this historic recipe with us! We can’t wait to hear how your batch of delightful bars turns out.